
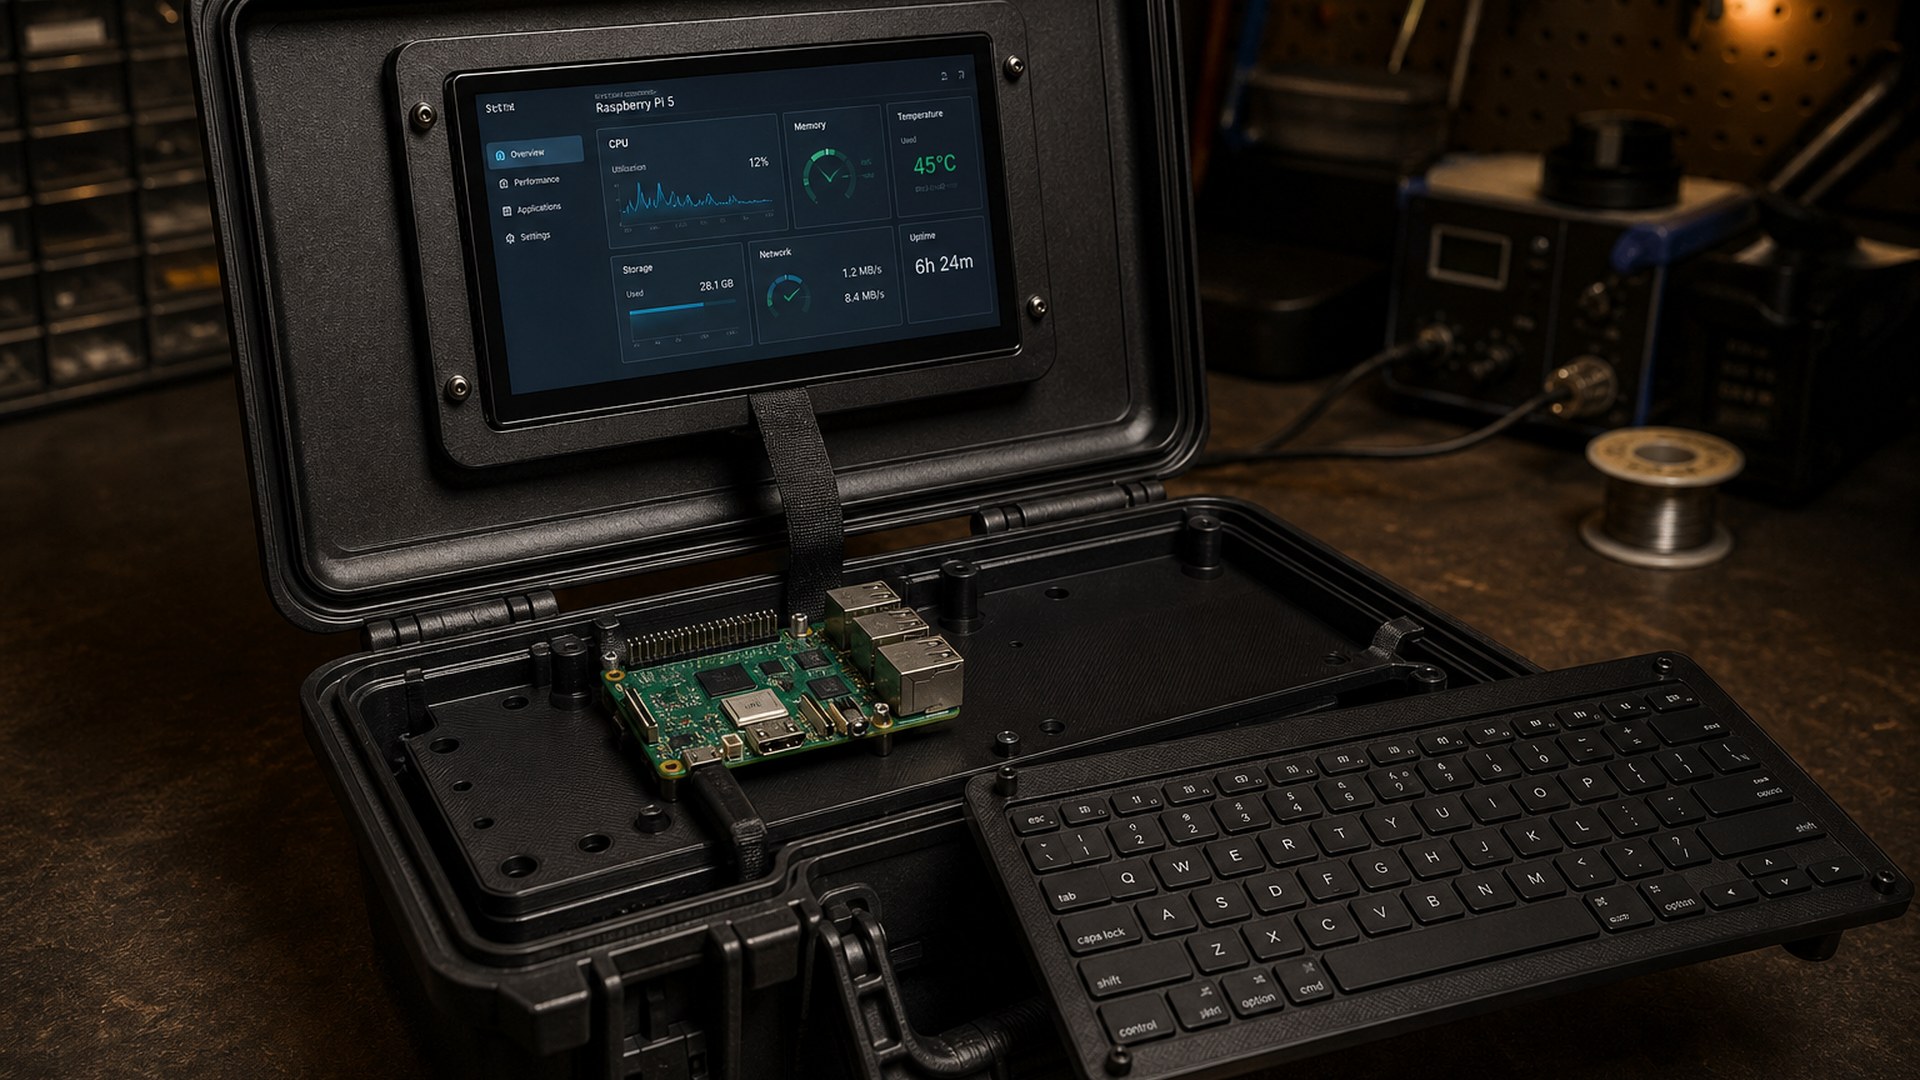
Raspberry Pi posted “Create your own cyberdeck” on 24 August at 12:51 UTC, a Maker Monday tutorial by Brian Corteil, and left it up as a free companion to Official Magazine issue 168. The Verge filed it the same afternoon. How-To Geek and XDA followed. The recipe is a Raspberry Pi 5, a 17.8 cm Touch Display 2, a 128-gigabyte Raspberry Pi flash drive, a Rii RK302 Bluetooth keyboard, and a CASOMAN 29.2 cm waterproof case. Off-the-shelf parts. A computer you close like a toolbox.
Corteil’s opener is the right definition. A cyberdeck is a wearable, a pocket computer, a launch desk for a high-altitude balloon, a knowledge store, or anything else a conventional tablet will not be. Four assemblies: brains, peripherals, power, and case. Pick the board for power draw, speed, and size. A single-board computer uses less power than a desktop CPU. Storage on a Pi 5 can be a microSD card, a USB flash drive, a USB SSD, or an M.2 NVMe drive on an M.2 HAT. The official build uses the flash drive because it is faster than a card, harder to lose, and easy to swap if you want a media-centre OS one afternoon and a desktop the next.
The watts are the first sum you should write down. A Raspberry Pi 5 wants 25 watts in the worst case, 5 volts at 5 amps if the USB ports are fully loaded. Touch Display 2 at full brightness pulls about 3 watts. Corteil’s addition is 28 watts, which at 5 volts is 5.6 amps. I = P/V. That arithmetic is in the tutorial. A weak supply is how a portable Pi crashes under load. Raspberry Pi’s own 27-watt USB-C supply will run the deck from the wall. Off-grid is a separate conversation.
Named dollars, labelled. Raspberry Pi’s April 2026 product brief lists the Pi 5 at $45 for 1 GB, $65 for 2 GB, $110 for 4 GB, $175 for 8 GB, and $305 for 16 GB. Micro Center had the 4 GB board at $109.99 this week. How-To Geek, walking the official shopping list, put the 4 GB Pi 5 at $130, the display at $55, and the case and smalls around $20 or less. The Verge and XDA both noted the 16 GB SKU took a $100 hike in April; XDA put that board at $305, up from $120 when the 16 GB launched in January 2025. This desk is not a price tracker. It is printing the official list, the Micro Center ticket, and How-To Geek’s shopping-list three. The 4 GB board is enough for the tutorial’s everyday jobs. The 16 GB board is the one you buy if you want the whole working set in RAM. Either board fits the same holes.
The official parts list, all off the shelf, some soldering or Wago blocks if you would rather not heat a joint:
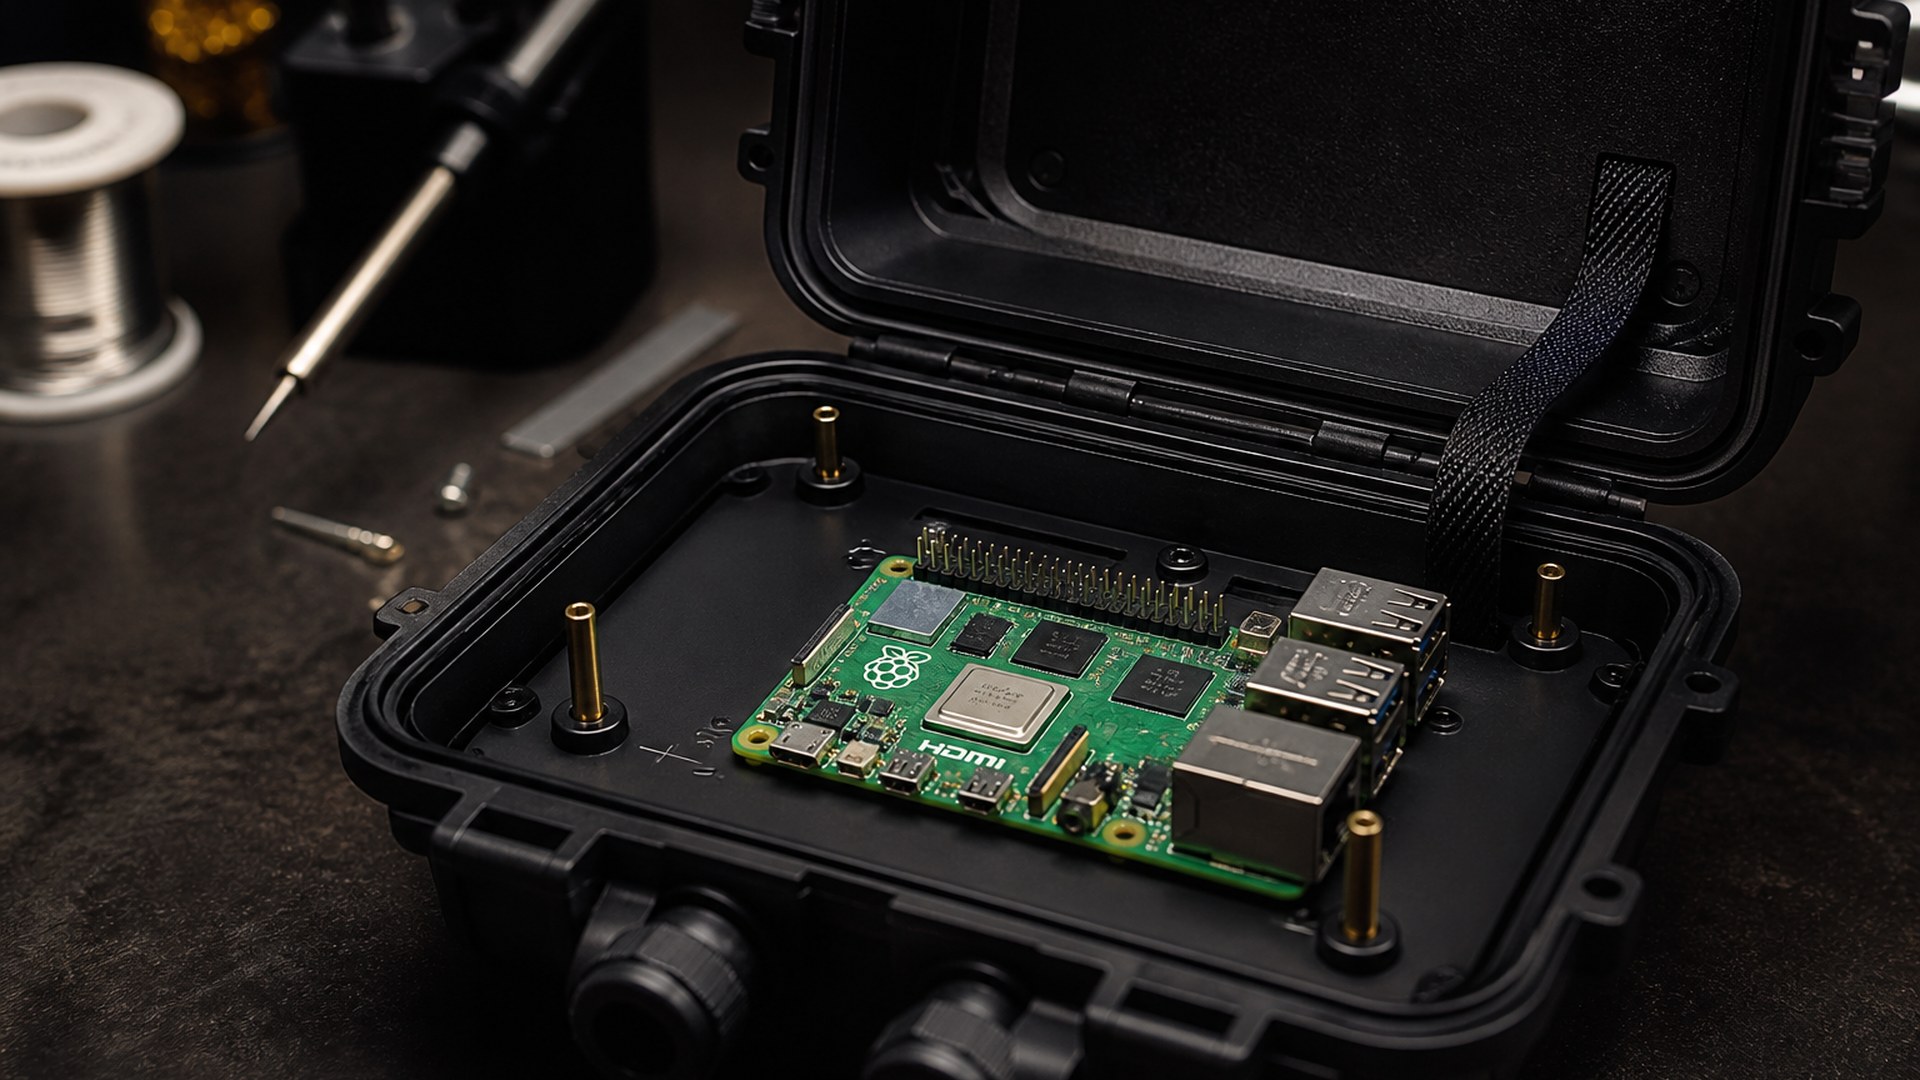
Raspberry Pi 5. Quad-core Cortex-A76 at 2.4 GHz, VideoCore VII, dual 4Kp60 HDMI, two USB 3.0, two USB 2.0, gigabit Ethernet, 40-pin header, a real-time clock that wakes when you add the RTC battery. Corteil picked it because it will do everyday work, talk to other Pi projects, and still leave GPIO free.
Raspberry Pi Flash Drive, 128 GB. Boot storage. Faster and more robust than microSD. Swap the stick, swap the OS.
Raspberry Pi Touch Display 2, 17.8 cm, 1,280 by 720 landscape. Capacitive touch. Corteil’s point is that the panel removes the mouse for most jobs. About 3 watts at full brightness. A 500-millimetre display ribbon reaches from lid to board. Cloth tape on that ribbon turns a fragile flex into a harness.
Rii RK302 Bluetooth keyboard. Low profile, chosen because it fits the CASOMAN 29.2 cm box. The chassis is flexible — it wants a table — so the build puts it on a supported plate. Bluetooth keeps another USB port free.
Pimoroni Picade Max USB Audio. USB-C sound card with a 3-watt stereo amplifier, one cable, GPIO header left alone. Picade Max Encoder for volume. Speakers sit behind the front-plate grids, amp behind the display at the top, volume knob through the display plate. Mounting the audio inside means you do not drill the weatherproof shell.
Power. A power bank is the simpler, safer off-grid option. The official build uses a LiPo with an inline fuse and a DC-to-DC converter that outputs 5 volts at 5 amps over USB-C Power Delivery. Charge the pack on an external charger. Disconnect the battery while it charges. Corteil is blunt about LiPo chemistry: treat it with care, charge it correctly, do not over-discharge it, put a fuse as close to the pack as you can, and watch cell voltages in use. That is not folklore. That is how you keep a sealed box from becoming a problem. Mains is the 27-watt Raspberry Pi USB-C supply. The deck does not have to be a battery project.
Case. CASOMAN 29.2 cm waterproof. Pelican is the brand people use as a generic, the way Hoover became a vacuum. Carry handle, weather seals, a lid that is a natural bezel for a 17.8 cm panel. Past decks have used pocket computers, briefcases, mint tins, wooden boxes, prop replicas. The hard case is the starting object because it already has a hinge and a latch.
Raspberry Pi RTC battery. On a Pi 5 it activates the built-in real-time clock so the deck keeps time off-grid. Add this line to /boot/firmware/config.txt:
dtparam=rtc_bbat_vchg=3000000
USB internals. Corteil likes flat ribbon-style cables from Adafruit and The Pi Hut, mixed ends, right-angle micro-HDMI if you need it. This build uses standard USB and that 500-millimetre display ribbon. A USB-A lead with bare wires is soldered to the display’s power cable, heat-shrink over the joints, so the display does not steal GPIO power pins from a future HAT.
Build order, as the tutorial actually walks it. Burn Raspberry Pi OS to the flash drive with Raspberry Pi Imager. Connect everything on the bench and confirm boot, touch, keyboard, and sound before you glue a single support. Cardboard-aided design — CAD in the original sense — is how you find out whether the ribbon will reach and whether the keyboard plate clears the board. Then ordinary CAD: Corteil used SOLIDWORKS Maker; Fusion 360 and FreeCAD are named as the other common tools. Print or laser-cut the supports. Expect to revise.
Lid first. Check fit. Speakers and Picade amp next, amp at the top behind the display, speakers either side behind the grids, encoder behind the top plate with the knob through the display plate. Seat the panel on double-sided tape or foam, then the back brackets. Glue supports with a hot-glue gun or foam tape after a second fit check. Cloth-tape the display ribbon. Self-tapping screws hold the display plate; heat-set bosses or glued nuts if you prefer. A latching switch in series with the display’s power is optional and useful.
Bottom half. Confirm the supports and plate fit. Glue. Connect the Pi to the display and watch it boot in the box before you commit. Fix the Pi. Glue or Velcro. The official build uses a mount plate for the Pi and the battery holder. Keyboard grips on the keyboard plate, and do not screw that plate down. You will need to reach the Pi to change power and to shut it down. A plate that lifts is a maintenance hatch. A plate that is glued is a regret.
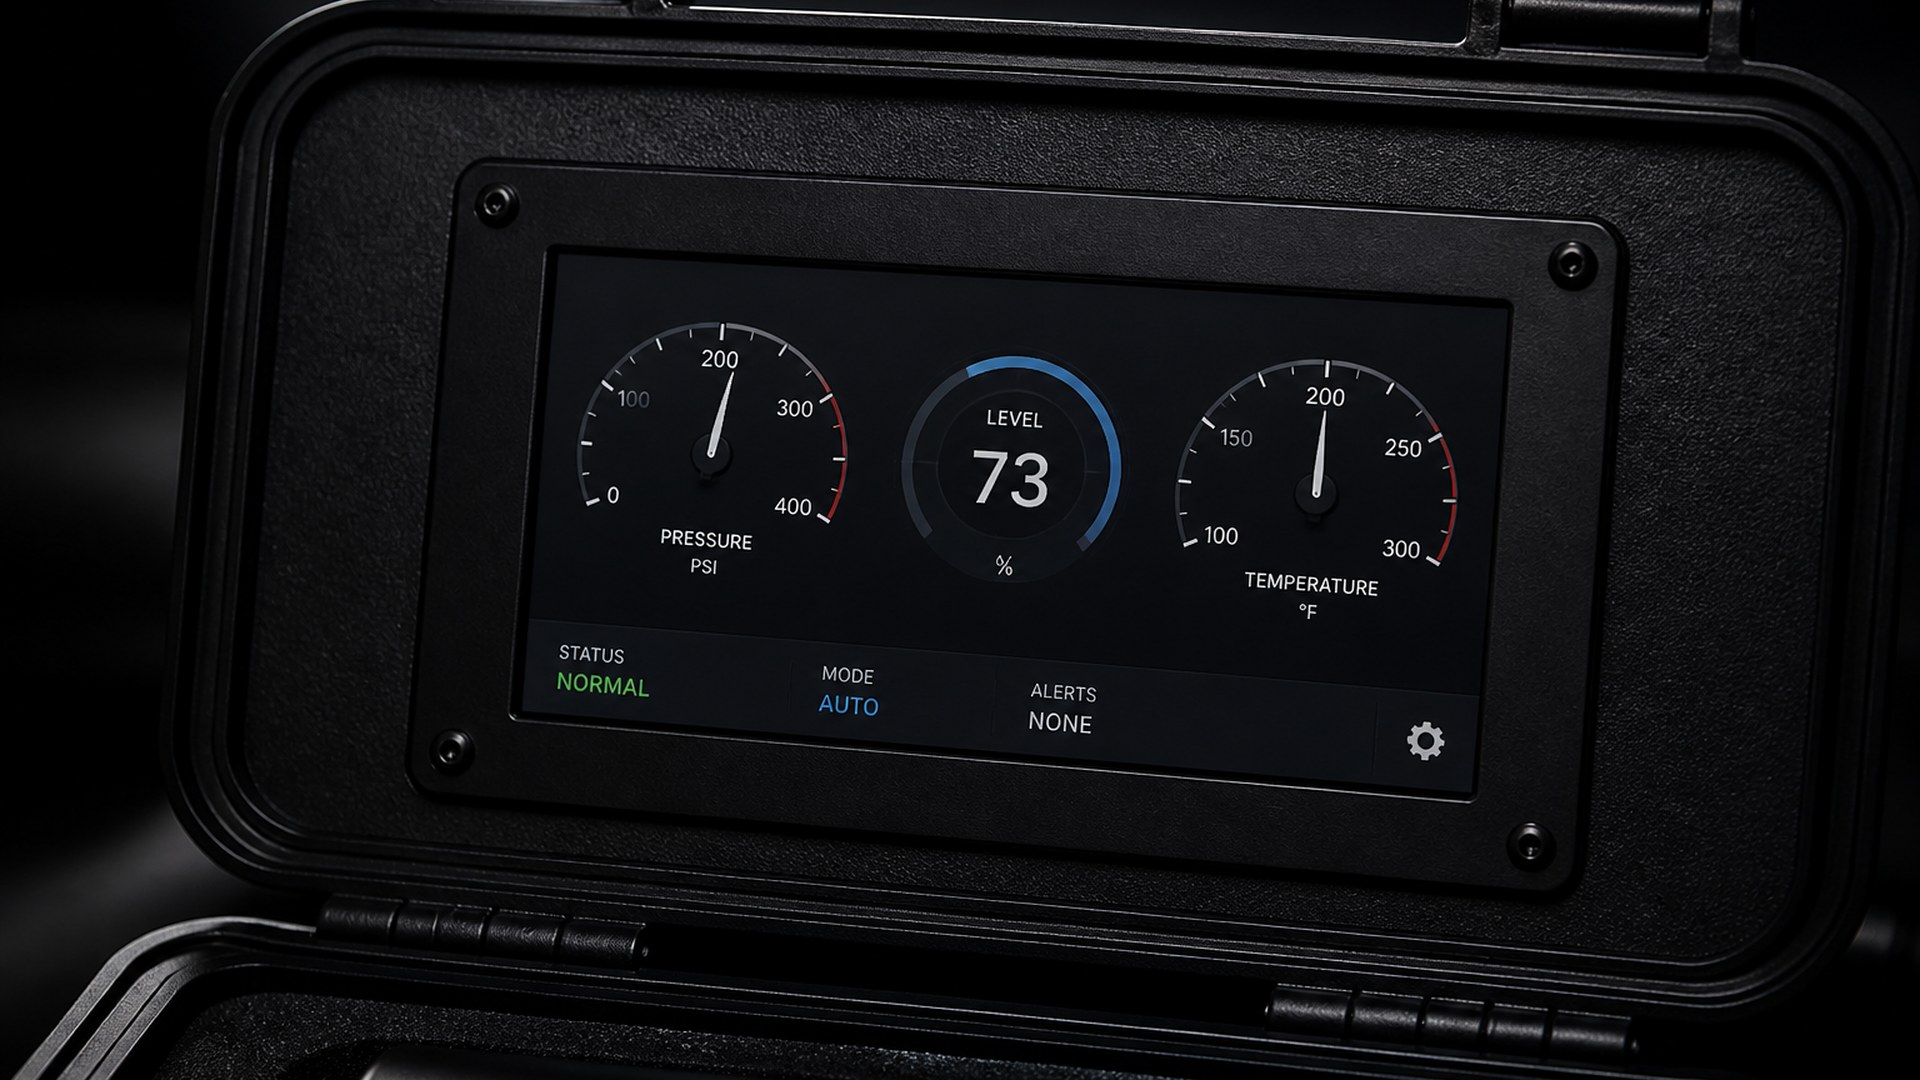
Custom comes after the deck boots in the case. Corteil’s extras list is the Hackaday half of the page: a Raspberry Pi Pico as a second processor for a smaller display or a run of LEDs, I2C for sensors and a secondary screen, a software-defined radio, accessible GPIO for a HAT, a current sensor so you can see what the pack is doing. Mini 10-millimetre extruded aluminium with printed or laser-cut panels makes a stronger chassis if the plastic box is only a shell. Companies will print and cut for you if you do not have the machines. How-To Geek is right that the tutorial assumes you can reach a printer or a cutter, or pay someone who can. Filament and sheet are part of the bill even when the board is $110.
Issue 168 of Raspberry Pi Official Magazine is the cyberdeck special. The 24 August post is the tutorial from that issue, free on the web. A six- or twelve-month print subscription still throws in a Raspberry Pi Pico 2 W. Ashley Whittaker, Raspberry Pi’s head of social, told The Verge they had not been able to get away from cyberdecks this year. The mermaid-purse builds and jewellery-box decks on TikTok are the cultural weather. The CASOMAN box is the reference design for people who want a weatherproof hinge more than a prop.
Comments under the 24 August post are the honest cost argument. Tomsz, that evening, pointed at a 35.6 cm Pinebook Pro at $219, dual A72 and quad A53, 4 GB, no assembly. Anders, the next morning, said almost any Pi project can be bought off the shelf cheaper, named the Argon OneUP with a Compute Module 5, and compared the whole hobby to baking bread. rclark, that night, said price is not the point and described a Pelican rocket-launch deck he started years ago with a Pi, a Metro board, covered switches, and a 17.8 cm panel. timbo, on 28 August, noted the Pinebooks were sold out, even refurbs. File those four comments as the week’s letters page. This newspaper is not going to pretend a Pelican Pi undercuts a laptop. It is going to file that Raspberry Pi finally printed a parts list, a watt sum, and a build order, and put them on the web on a Monday.
What you do not do. You do not skip the bench test. You do not skip the fuse on a LiPo. You do not charge the pack inside the closed case on a USB port that was meant for the Pi. You do not glue the keyboard plate. How-To Geek did not print a $20 complete-kit fantasy; their $20 was the case and smalls, not the computer. You do not need a 16 GB board at $305 to follow Corteil’s steps. You do need 28 watts of honest supply, a ribbon that reaches, and a lid that still latches when the panel is in it.
What 24 August is: Maker Monday, Brian Corteil, Official Magazine 168, a Pi 5, a 17.8 cm 1,280-by-720 Touch Display 2, a 128 GB flash drive, a Rii RK302, a Picade amp, a CASOMAN 29.2 cm case, 25 watts plus 3 watts equals 28, 5.6 amps at 5 volts, official 4 GB list price $110, How-To Geek’s shopping list $130 and $55 and about $20, Micro Center $109.99, 16 GB $305 on the April brief, an RTC line in config.txt, a lift-out keyboard plate, a weatherproof hinge. Named parts. Named watts. Named dollars. The tutorial is free. The deck is a weatherproof hinge and a 17.8 cm panel, and you can build it this week from a list Raspberry Pi was willing to sign.
The paper
Comments
No notes on this story yet.
Sign in to comment